
Turning a Plate: My Secret to Making Them Beautiful

Recently, a friend asked me to make a custom plate for her daughter's wedding gift. It was a privilege for me since her daughter was a student of mine way back in her middle school days. To see her now as a wonderful, thriving adult is just incredible. I've made plates before, but this was a new design based on a glue-up style I have used in other works. I was really pleased with the way her plate came out.

back of the plate with personalized engraving
It inspired me to turn more and create a series of them. I thought you might like an overview of how I turn a plate.
Gluing Up a Blank
I design my plates to be made from multiple species of hardwoods. Most of these woods grew just a short distance from my workshop. Occasionally, I use exotic hardwoods as accents.
Attaching the Faceplate Before Turning a Plate

A round pine piece is glued to the blank.

Next, a circle is scribed and then cut out on the bandsaw.
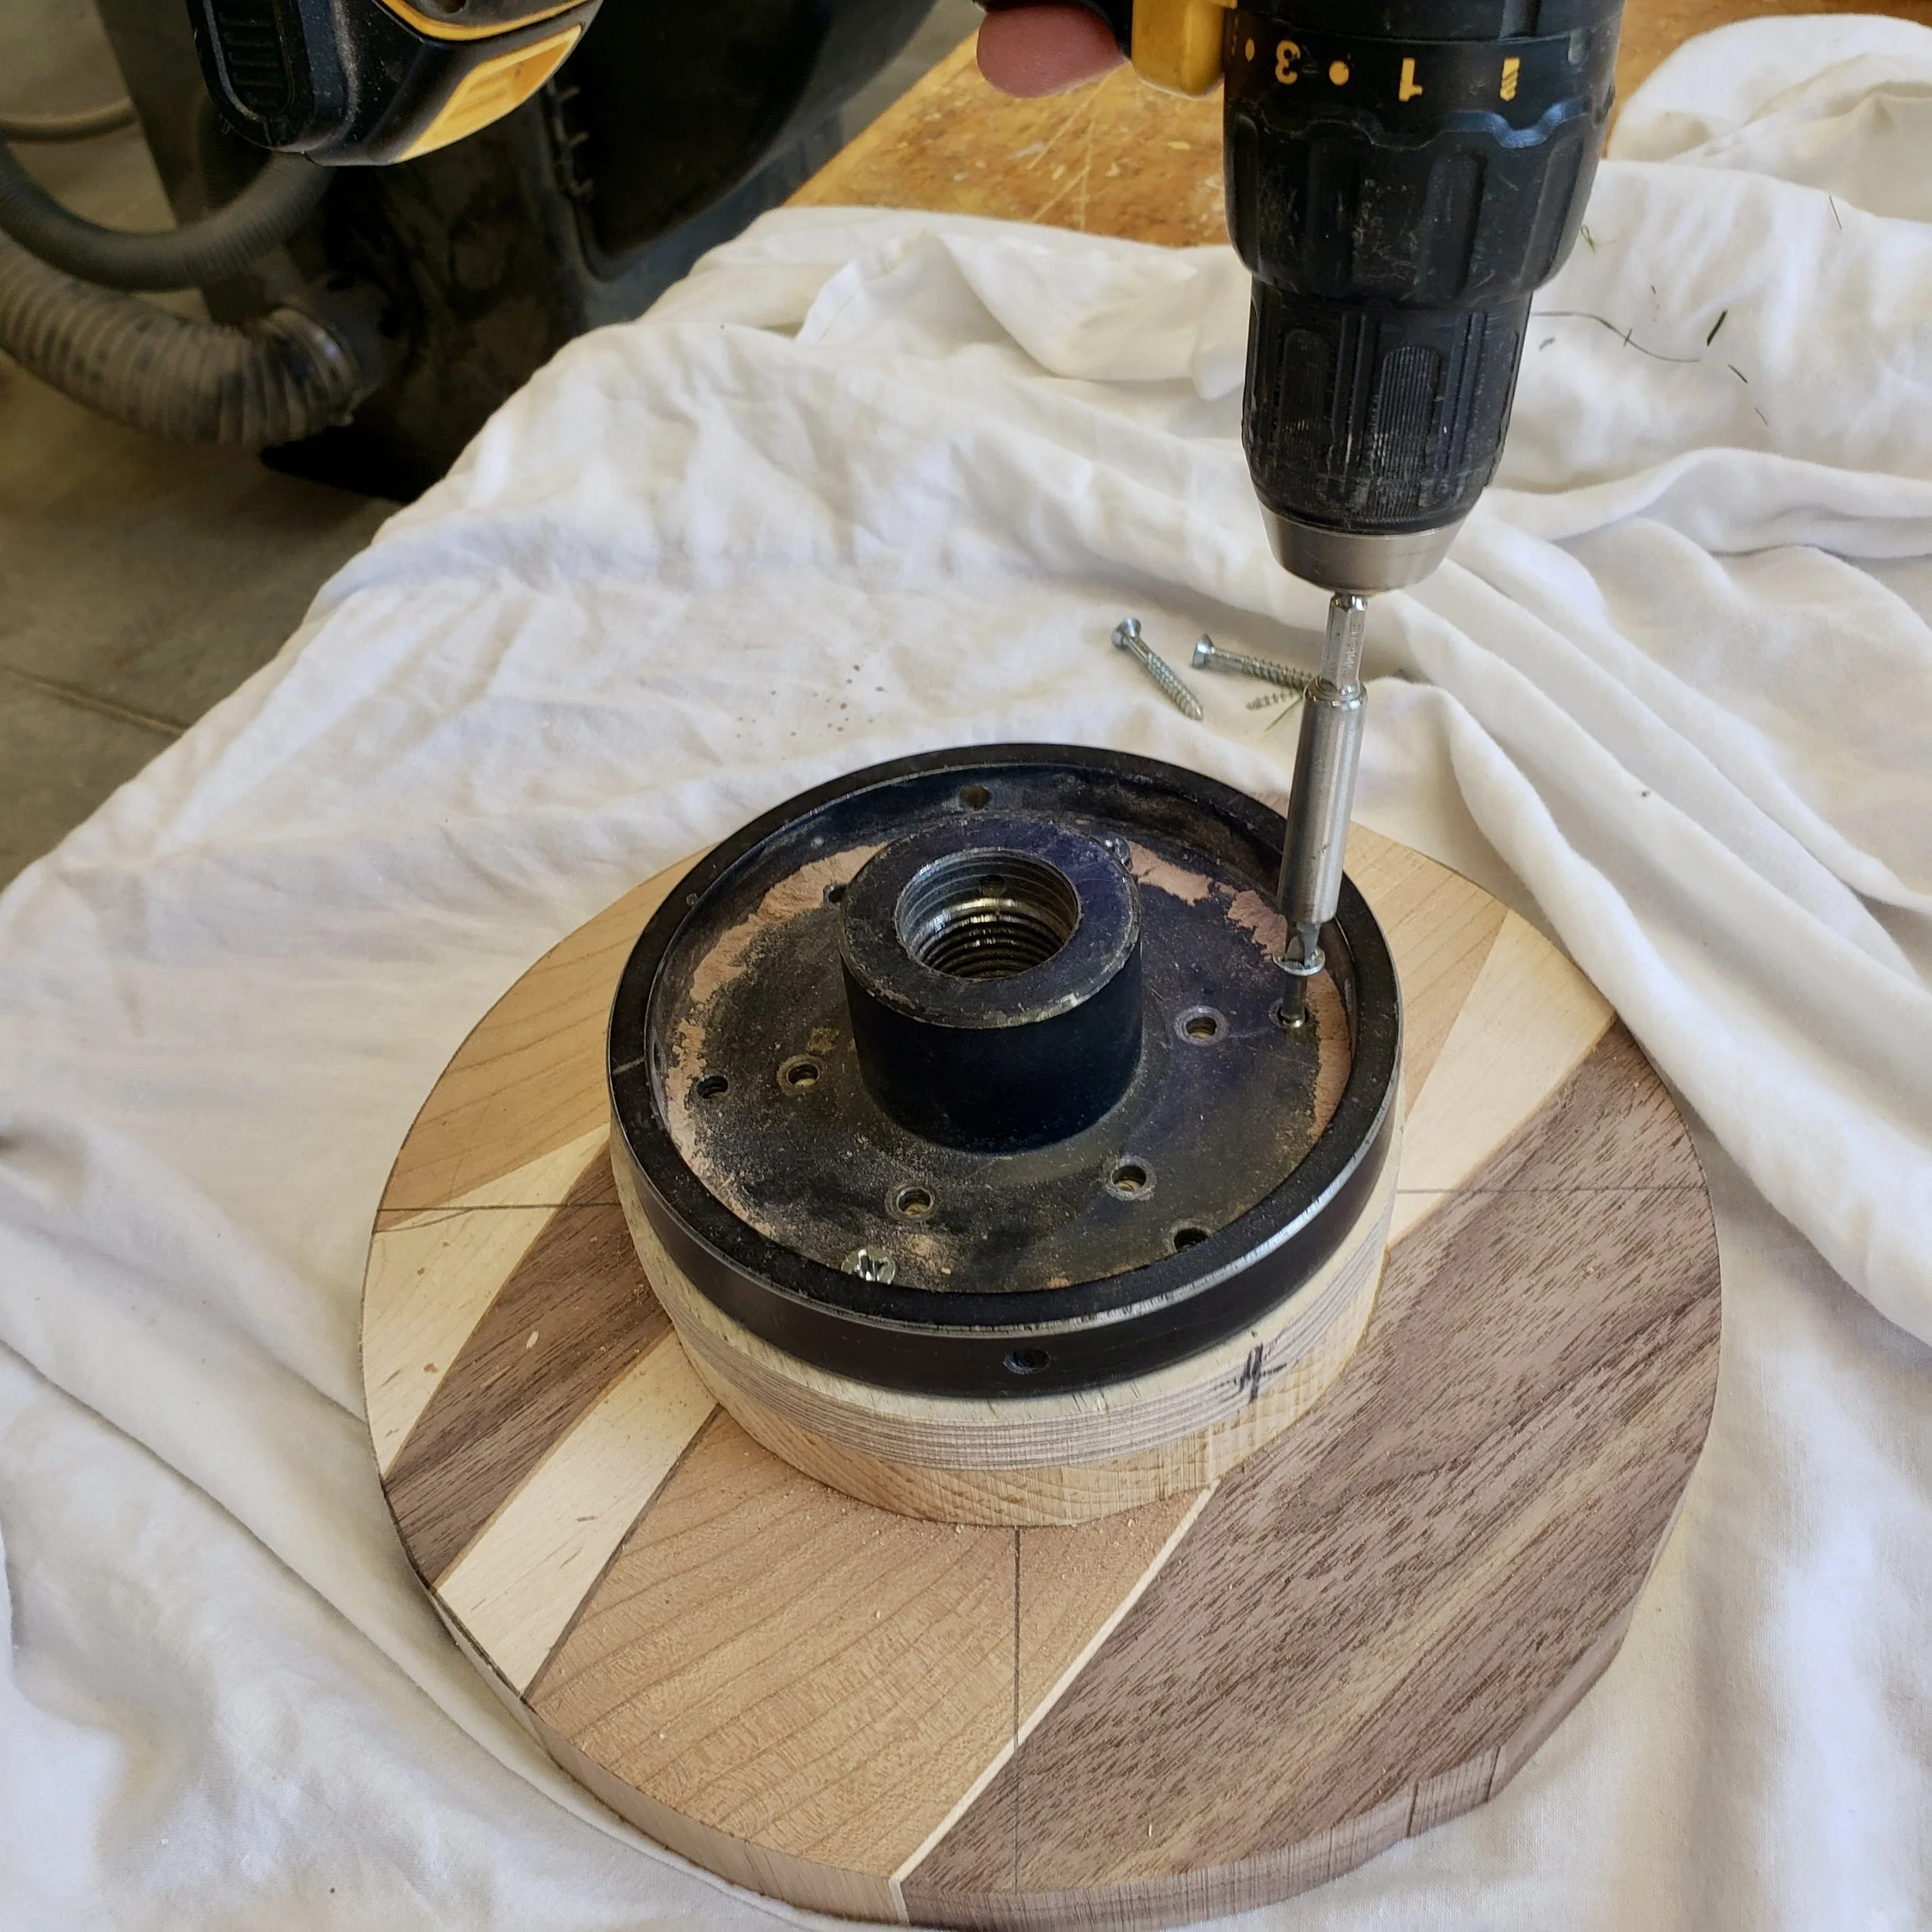
After that, a metal faceplate is screwed to the pine.
The faceplate screws onto the lathe.
Turning the Plate on a Lathe
As the lathe spins the blank, an assortment of cutting tools is used to remove wood. The shape of the plate is sculpted using these tools.

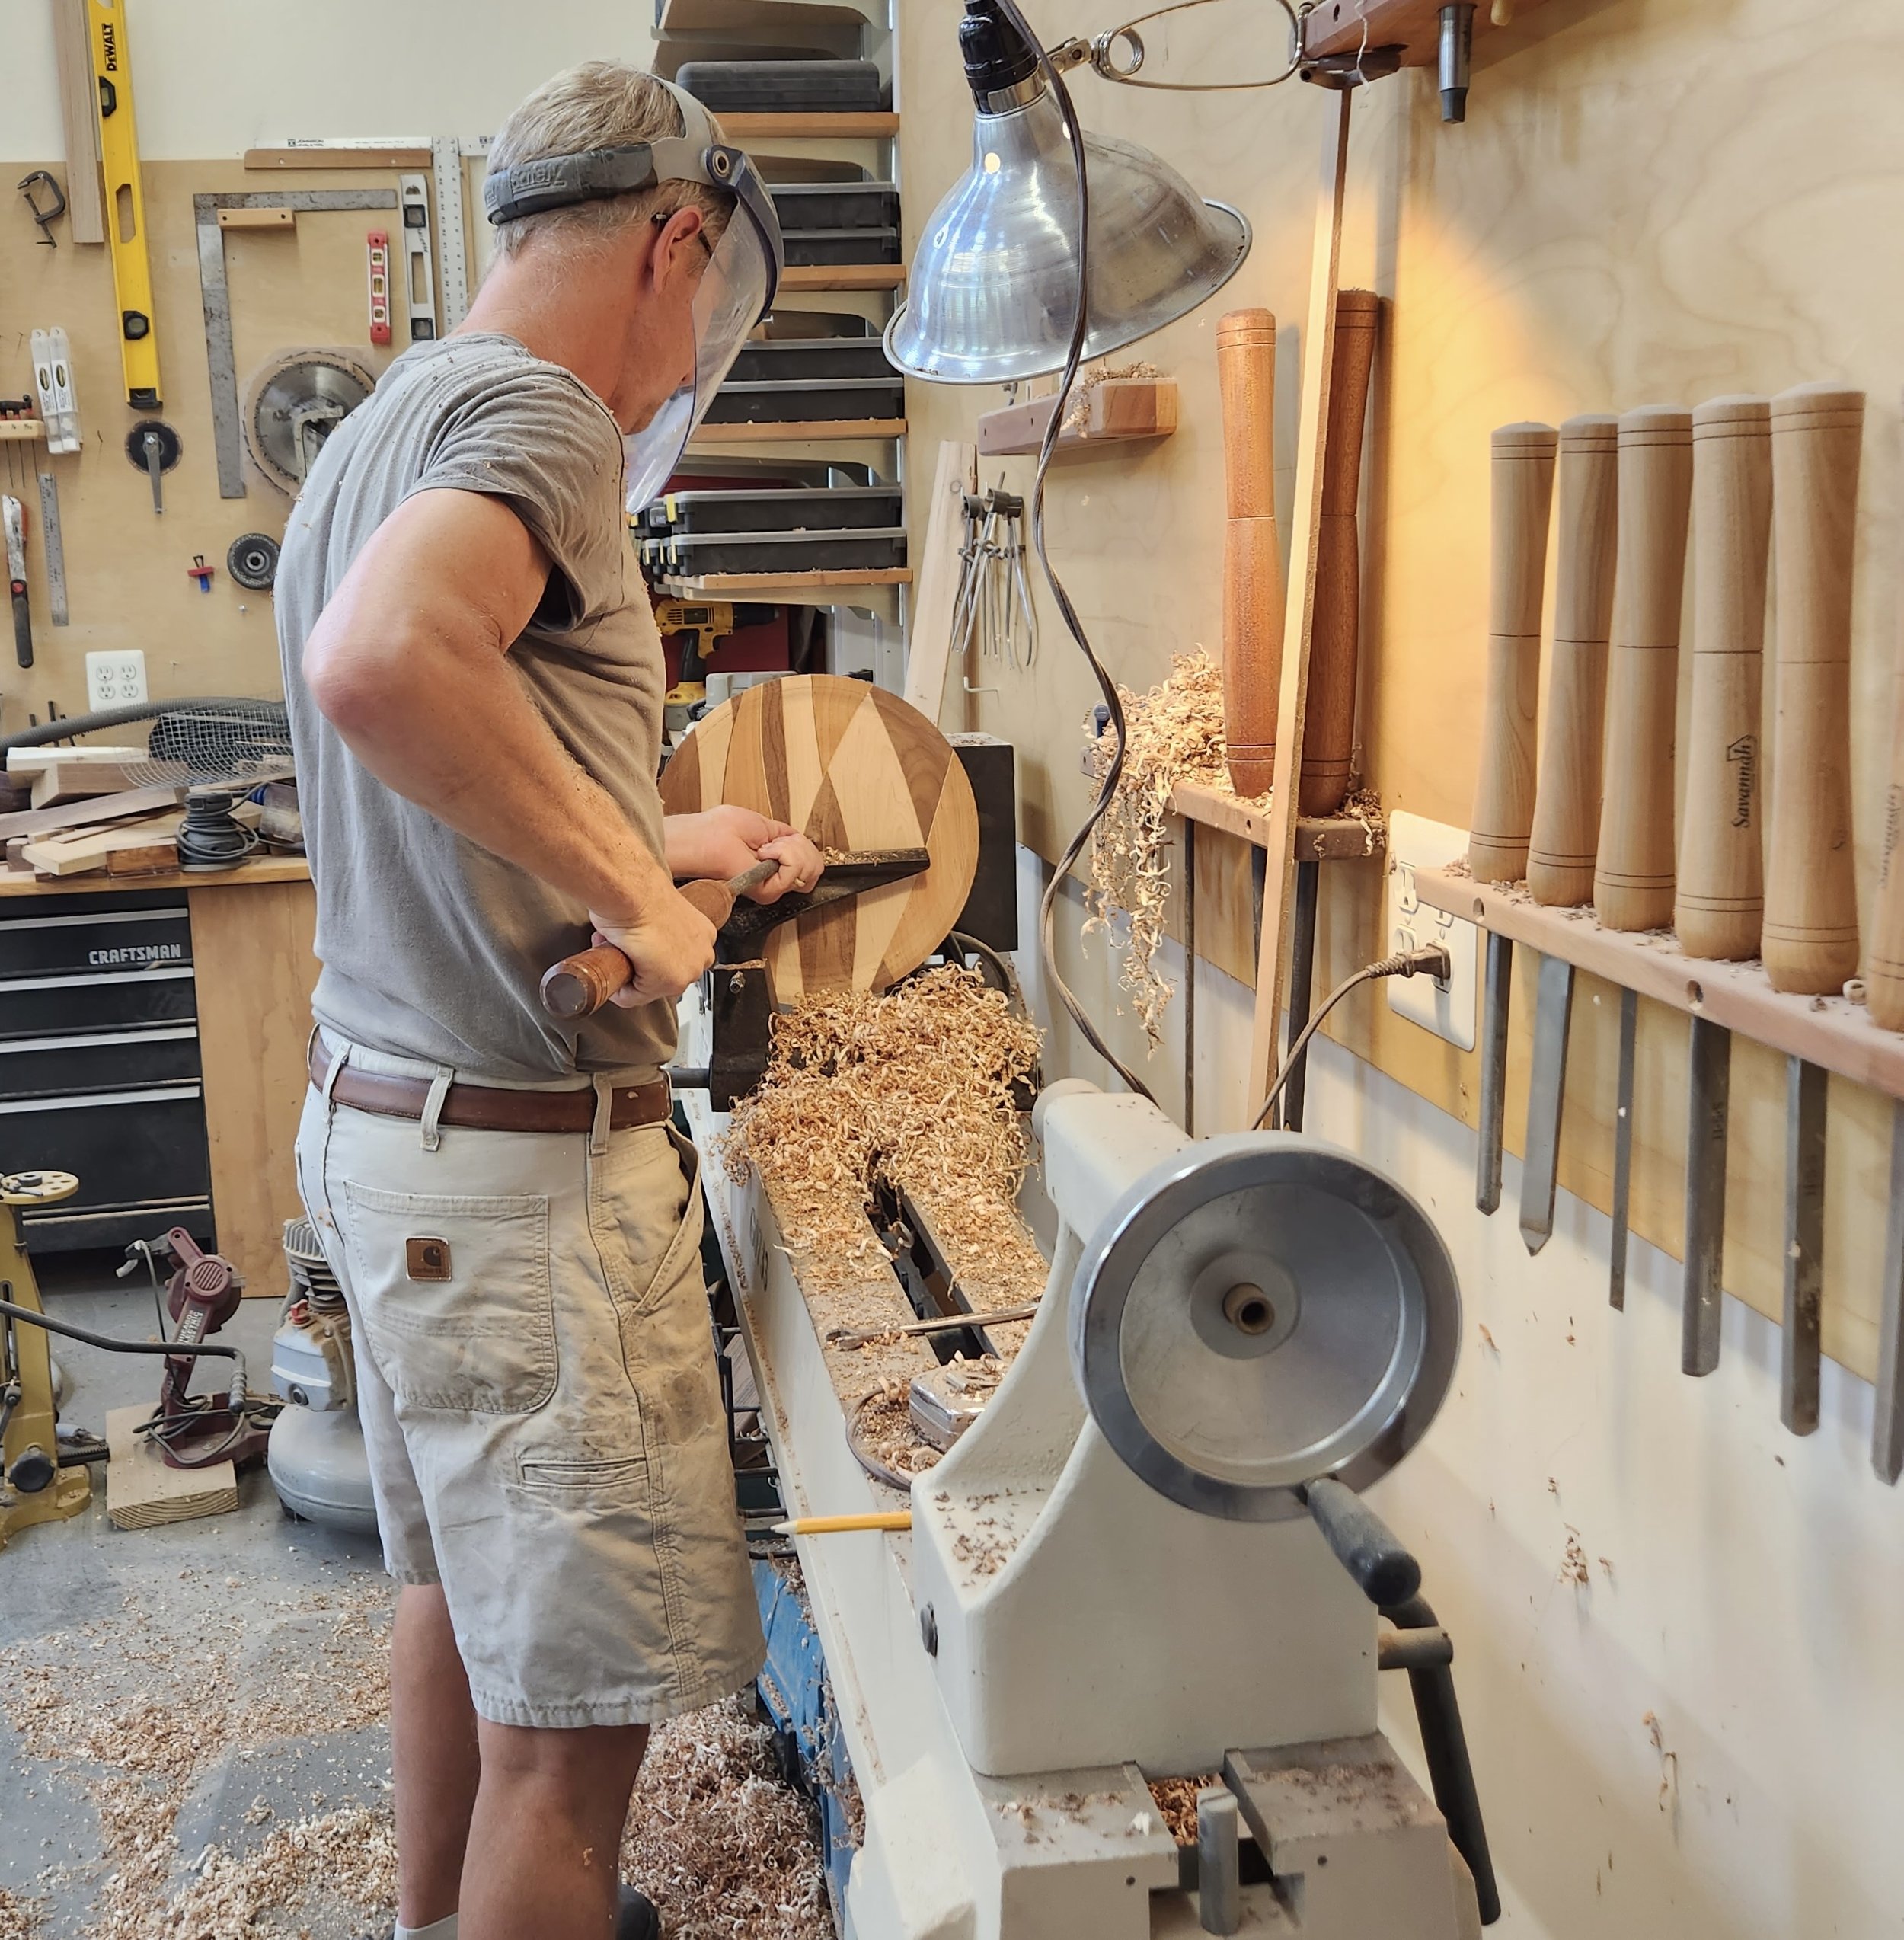


Here is a short video of me turning a plate.
After the plate is sculpted, it is sanded as it spins on the lathe.
Then, the plate is removed from the lathe, and the pine block is removed from the back of the plate.
Applying the Finish
I apply an oil finish for the first coat. This soaks into the wood and brings out its natural color. This dries for three days.
One side of the plate is sprayed with a satin polyurethane finish. This takes 24 hours to dry. Then, the other side is sprayed. Between each coat, it is sanded with super fine 1,000 grit sandpaper. This process is repeated until four or five coats have been applied to each side.
Some commonly used finishes dry in minutes but lack the ideal properties of polyurethane. Any water left on those finishes can leave a milky white mark, which may or may not disappear over time. My finishing process is very time-consuming but gives the best results. It is beautiful, food safe, highly resistant to water, and does not yellow over time.
A Plate as Functional Art
Sarah and I enjoy the 'functional art' aspect of the wooden plates in our home. They are beautiful just sitting on a side table. When friends or family visit, they can enjoy cheese and crackers served up on art pieces! Perhaps you would enjoy them in your home too. They also make a great gift that would be a true keepsake.


Beautiful art for life well lived,
Moe